How to Design a Custom Plush Toy or Brand Mascot
Jesse Long
Head of Production, DreamPlush
April 6, 2026 · 9 min read
A great custom plush starts long before the first stitch — it starts with the design and the brief. The gap between a plush that captures your character and one that looks “off” almost always comes down to how the artwork was prepared and translated into three dimensions. This is the designer’s guide: what to send, how to design for plush, and how to sign off the sample that controls your whole production run.
What a plush tech pack actually contains
A tech pack is the recipe a factory cooks from. The more complete it is, the more accurate your first sample. You don’t need to produce one yourself — we build it with you — but here’s what goes in:
| Turnaround views | Front, side and back of the character |
| Dimensions | Finished height + key proportions (head:body, limb length) |
| Bill of materials | Each fabric, color and trim, mapped to the design |
| Color callouts | Pantone TPX/TCX codes, not just screen RGB |
| Embroidery map | Where each stitched element sits, plus DST files |
| Tolerances | Seam allowance 3–5 mm, stuffing ±5–10 g |
Designing flat art for 3D
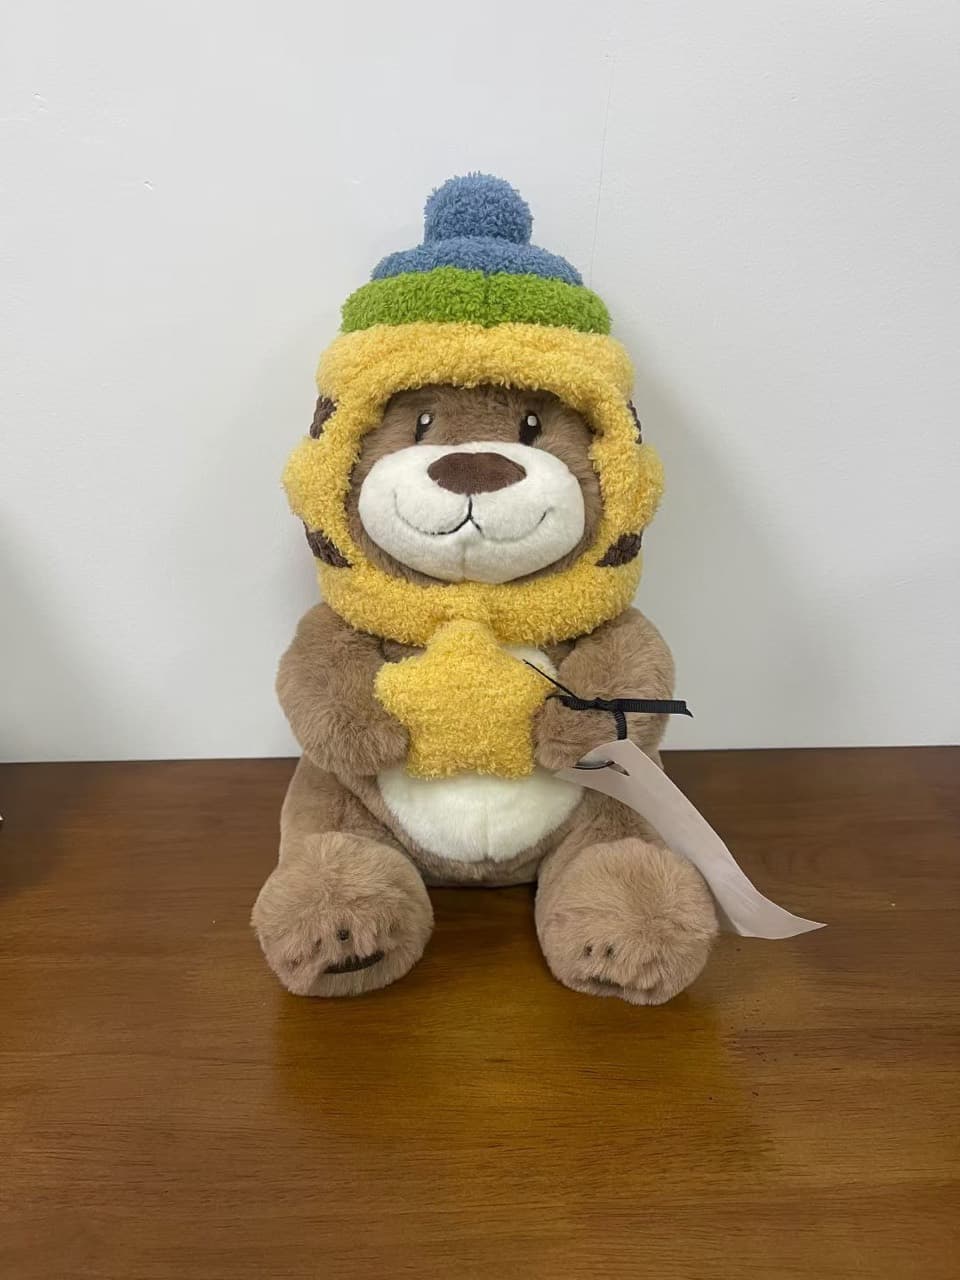
Plush is soft, fuzzy and three-dimensional, so some things that look perfect on screen simply don’t survive the jump to fabric. Here are the seven we flag most — and the fix for each:
| Looks great on paper… | …the plush fix |
|---|---|
| Hairline-thin outlines | Thicken to a stitchable weight or use applique. |
| Tiny text or logos | Enlarge, simplify, or move to a printed hang tag. |
| Smooth gradients | Use sublimation print, or step into solid color blocks. |
| Sharp inside corners | Soften to gentle curves a seam can actually turn. |
| Exact screen colors | Match to the nearest Pantone textile color upfront. |
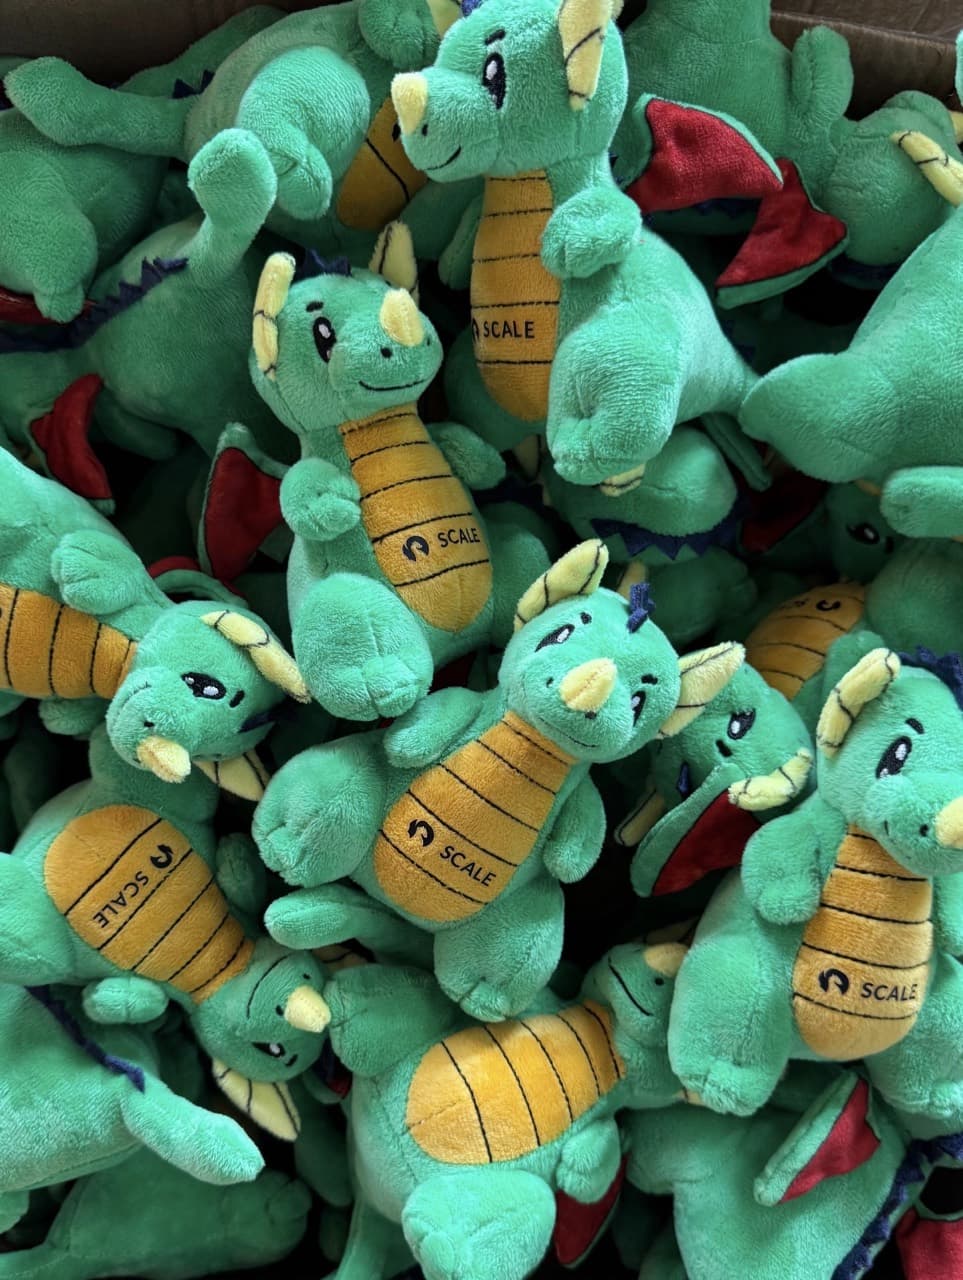
| Fur on small parts | Use short plush; long pile hides small details. |
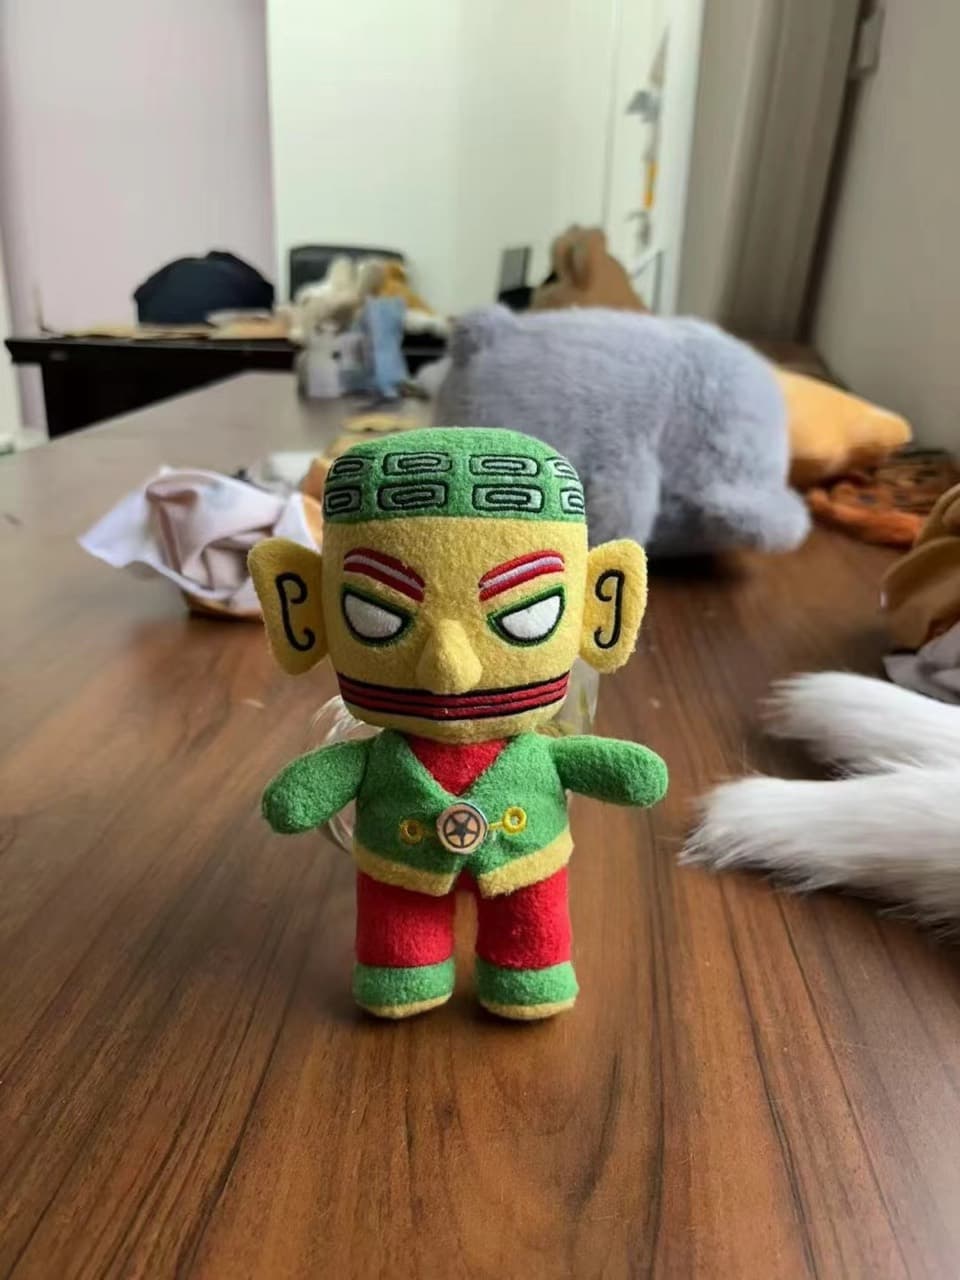
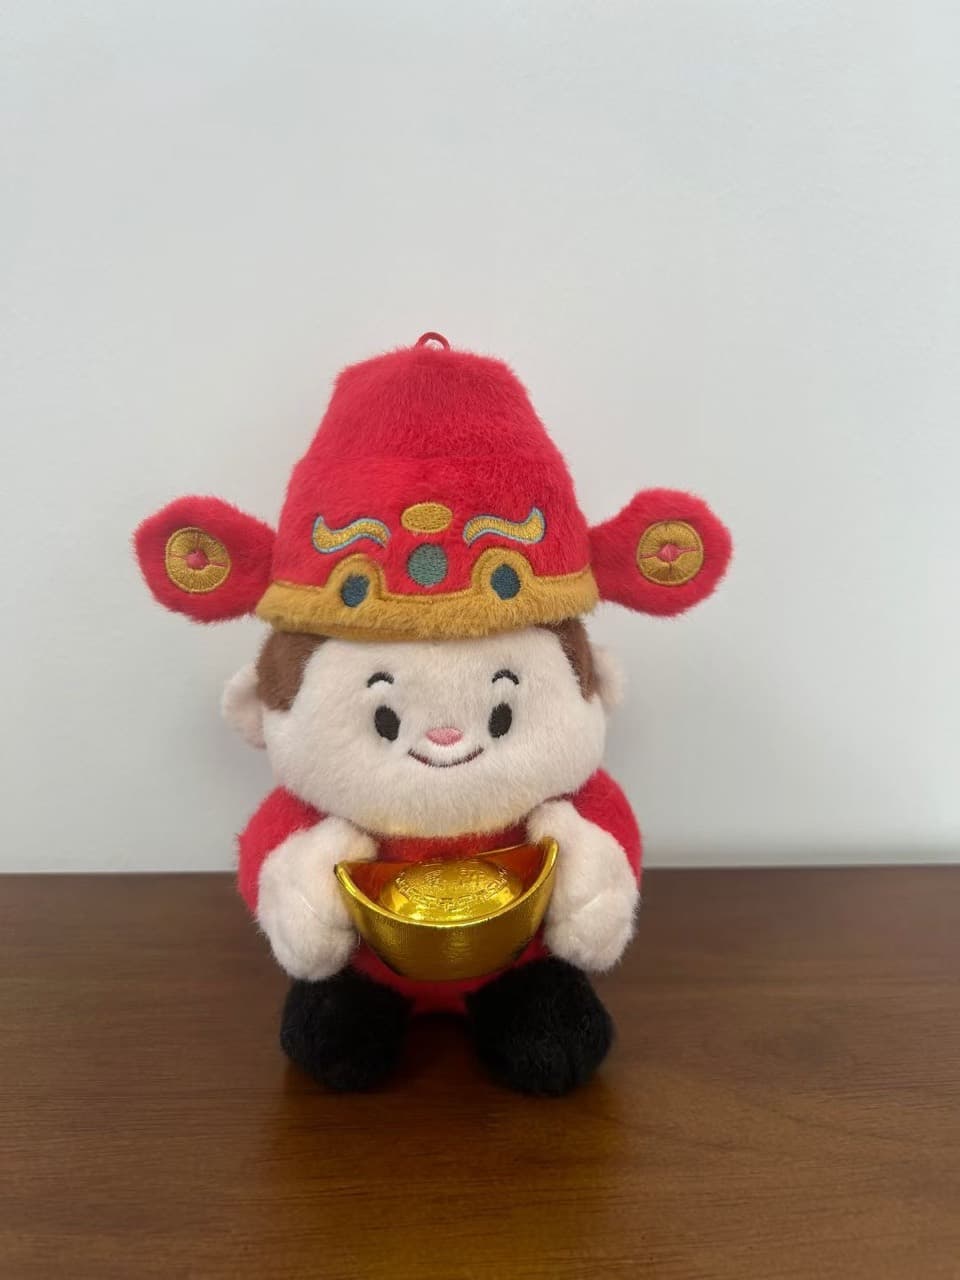
Logo & mascot conversion
For brand mascots, the decoration method is the key decision. As a rough rule: embroider simple logos, faces and text; print or applique complex, multi-color or gradient art.
The files to send us
Designers can speed everything up by sending the right deliverables:
- Views — front and, ideally, side & back of the character.
- Vector logo — AI or PDF (so it scales without blurring).
- Flat art — 300 dpi or higher PNG/JPG for raster references.
- Colors — Pantone TPX/TCX textile codes where you can.
- Embroidery — a DST file if you already have one (optional).
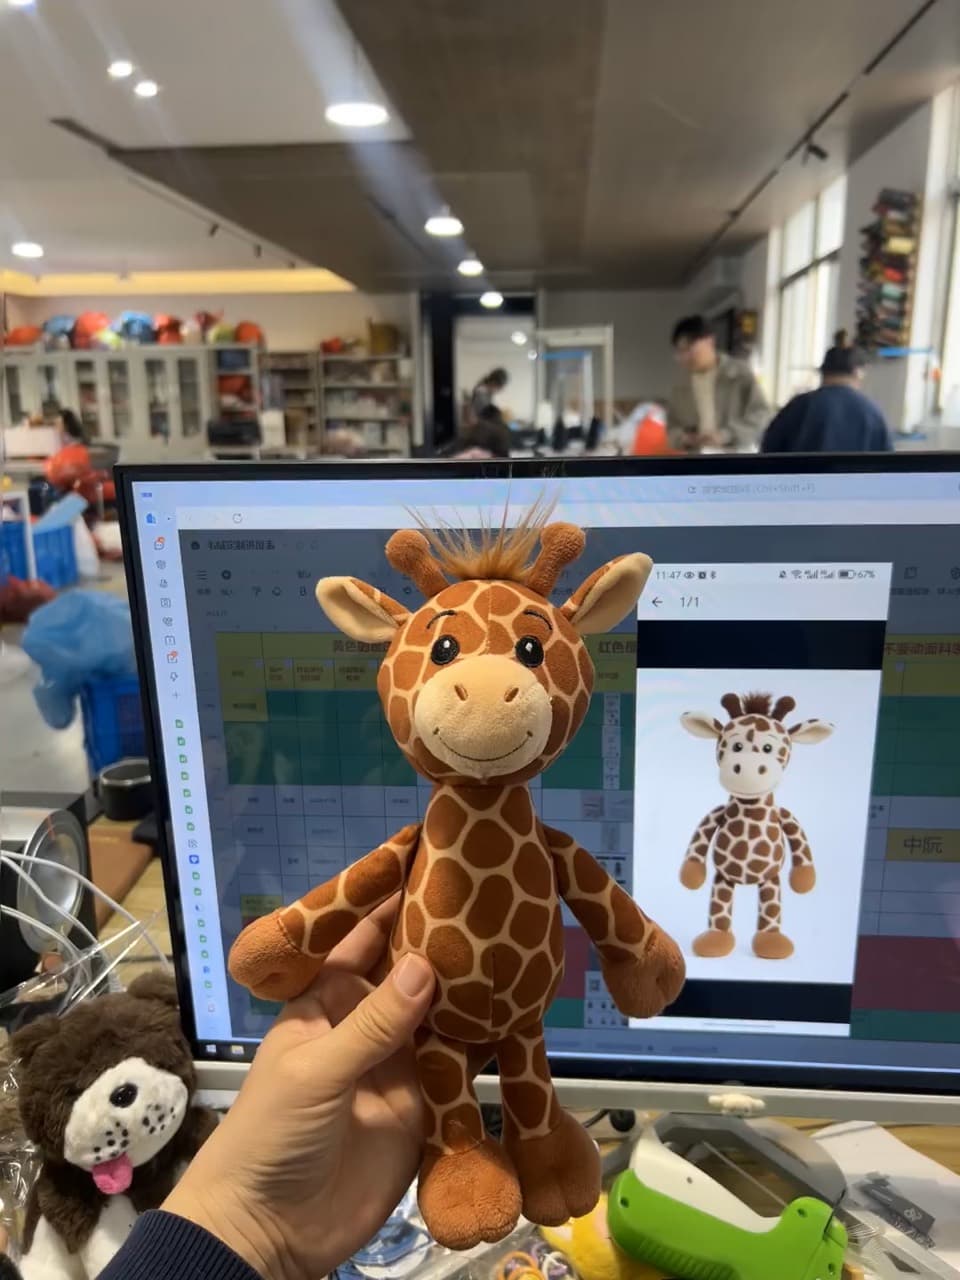
Approving your golden sample
Across two to three sample rounds, the design is refined into a golden sample — the signed-off reference that bulk production is measured against. When yours arrives, check the face placement and symmetry, color against your Pantone codes, embroidery alignment, size, and overall feel. Clear, specific revision notes here are the single biggest factor in a flawless bulk run.
Ready to design yours? See how our custom plush service works or explore brand mascots.
Frequently asked questions
What files do you need to design my plush?+
Ideally a front, side and back view of the character, a vector logo (AI/PDF), flat art at 300 dpi or higher, your Pantone TPX/TCX color codes, and any embroidery files (DST). A single clear drawing is enough to start — we develop the rest.
Should the face be embroidered or printed?+
Embroidery gives a premium, textured look and is perfect for simple faces, eyes and logos; sublimation printing handles complex, multi-color or gradient art. We pick per your design — and often combine both.
Why doesn't my logo look exactly the same on the plush?+
Plush is a 3D, fuzzy surface, so very thin lines, tiny text, sharp corners and exact gradients don't translate one-to-one. We adapt the artwork — thickening lines and simplifying detail — so it reads cleanly at the toy's size while staying on-brand.
How many sample rounds will I get?+
Usually two to three: a first 3D mock-up for shape and size, a pre-production sample for color and embroidery, and a signed-off golden sample that becomes the quality benchmark for bulk.